")
")
Schibot Garne Blog/News 2020: SISS - top down set-in sleeve sweater
2020: SISS - top down set-in sleeve sweater

SISS: Set-In Sleeve Sweater
Über die Konstruktion von top down Set-In Sleeve Pullis.
SISS: Set-In Sleeve Sweater
About the construction of top down set-in sleeve sweaters.
[scroll down for English]
Vorwort
 Heute berichte ich von meinem neuen Pullover namens SISS und was ich über die Konstruktion gelernt habe. Diesen Blogpost habe ich ungelogen zehn Mal angefangen, da ich zu dem Thema viel zu sagen habe. Und so leid es mir tut, ich muss da wirklich von vorne anfangen. Außerdem möchte ich mich vorab entschuldigen: Es werden viele englische Begriffe fallen (ich versuche sie zu erklären), da meine Lektüre meist englischsprachig war. Außerdem wichtig: Das ist keine Strickanleitung und auch wenn das Interesse unter euch schon jetzt groß ist, habe ich nicht vor eine Anleitung zu schreiben – zumindest nicht im Augenblick ;)
Details zur Wolle, dem Garnverbrauch und der Nadelstärke findet ihr auf der Ravelryprojektseite, falls ihr dort vorbei schauen möchtet.
Die nicht allzu gute alte Zeit
Wer schon ein paar Jährchen länger strickt, der weiß bestimmt noch, dass man Pullover fast ausschließlich in Teilen gestrickt und dann zusammen genäht hat. Auch meine ersten Oberteile sind auf diese Weise entstanden und wären wahrscheinlich nie fertig geworden, wenn meine Oma die Einzelteile nicht für mich zusammengesetzt hat.
Damals konnte ich mit Strickanleitungen ohnehin wenig anfangen. Die, die ich in den Fingern hatte, waren sehr kurz gehalten und unverständlich beschrieben. Und ich weiß, dass es vielen anderen genauso ging. Heute werden wir, was Anleitungen betrifft, verwöhnt und ich glaube, da hatten die USA einen großen Einfluss auf uns. Natürlich gibt es auch noch Zeitschriften und Bücher, die nach der „altmodischen Art“ stricken, aber spätestens bei einem Besuch auf Ravelry sieht man, dass es Strickanleitungen gibt, die wirklich richtig gut sind. Jeder Schritt wird einem erklärt und wenn man etwas doch nicht weiß, dann macht man einfach den Computer an und sucht nach einem Videotutorial.
 Bitte kein Zusammennähen!
Ich kann mich noch gut an meine erste Weste erinnern, die ich nahtlos von unten nach oben gestrickt hatte. Von dem Prinzip war ich ganz begeistert und machte mich auf die Suche nach ähnlichen Strickanleitungen. Dabei stieß ich dann auf top down – Konstruktionen. Pullis, die man ebenfalls nahtlos von oben nach unten strickt. Noch besser! Denn der große Vorteil von dieser Methode ist, dass man das Strickstück, noch bevor es fertig ist, einfach mal anprobieren kann. Von da an habe ich einige top down Pullis und Jacken gestrickt, stricke aber auch gerne noch Oberteile von unten nach oben. Mir ist nur eines wichtig: bitte kein Zusammennähen!
Gibt es da noch mehr Konstruktionen?
Nachdem ich nun doch schon einige Teile gestrickt hatte, meistens Raglan und Rundpasse, fragte ich mich dann doch, ob es da nicht noch andere Konstruktionen gibt. Denn auch wenn ich über das Zusammennähen so sehr schimpfe, die Oberteile hatten schon allesamt einen sehr guten Sitz. Also zogen bei mir einige englischsprachige Bücher ein. Und eines davon habe ich in den letzten Monaten immer und immer wieder gelesen und die Anleitungen studiert: "top down – reimagining set-in sleeve design" (frei übersetzt: von oben nach unten – Neuinterpretation eingesetzter Ärmeln) von Elizabeth Doherty.
Details zu top down set-in sleeve Konstruktion
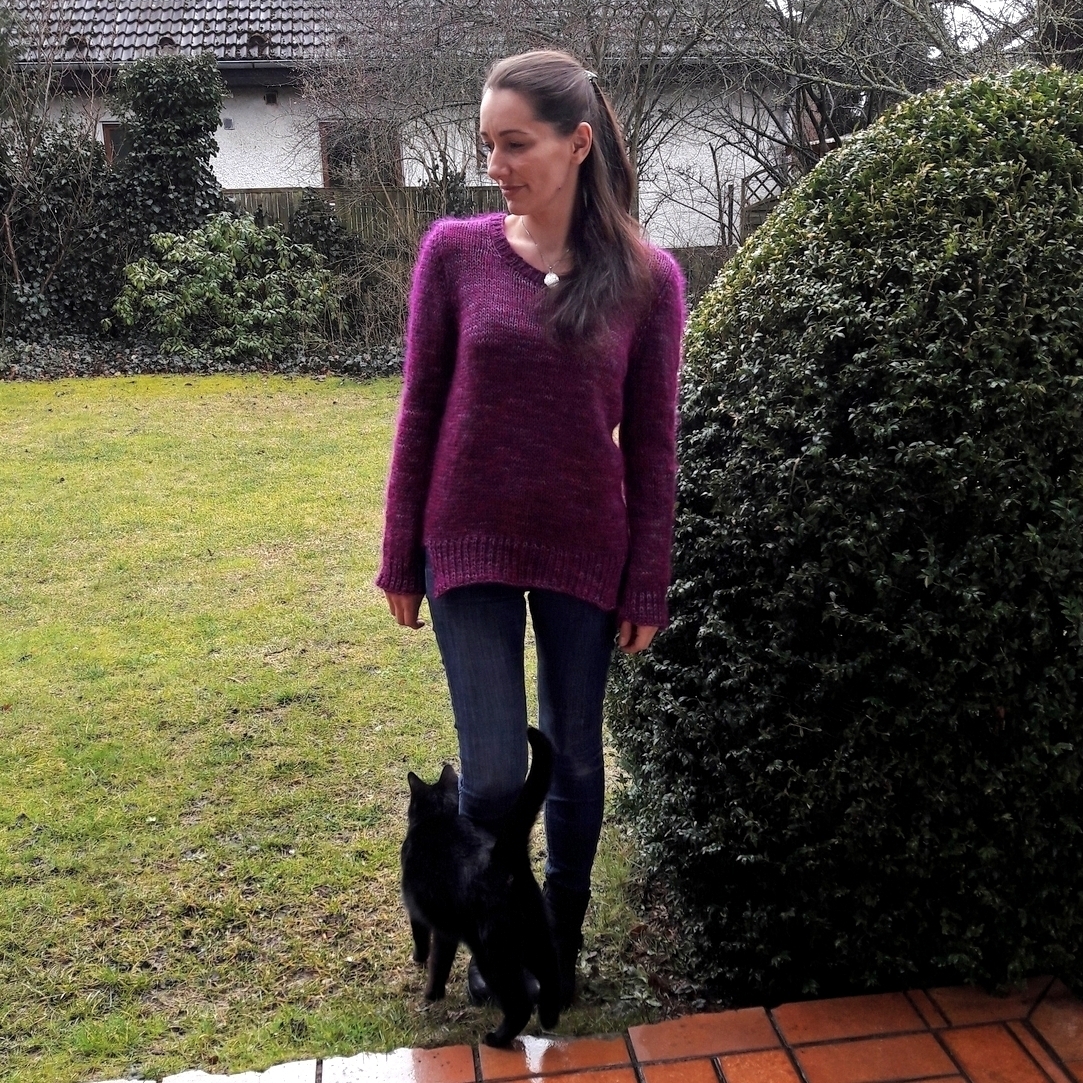
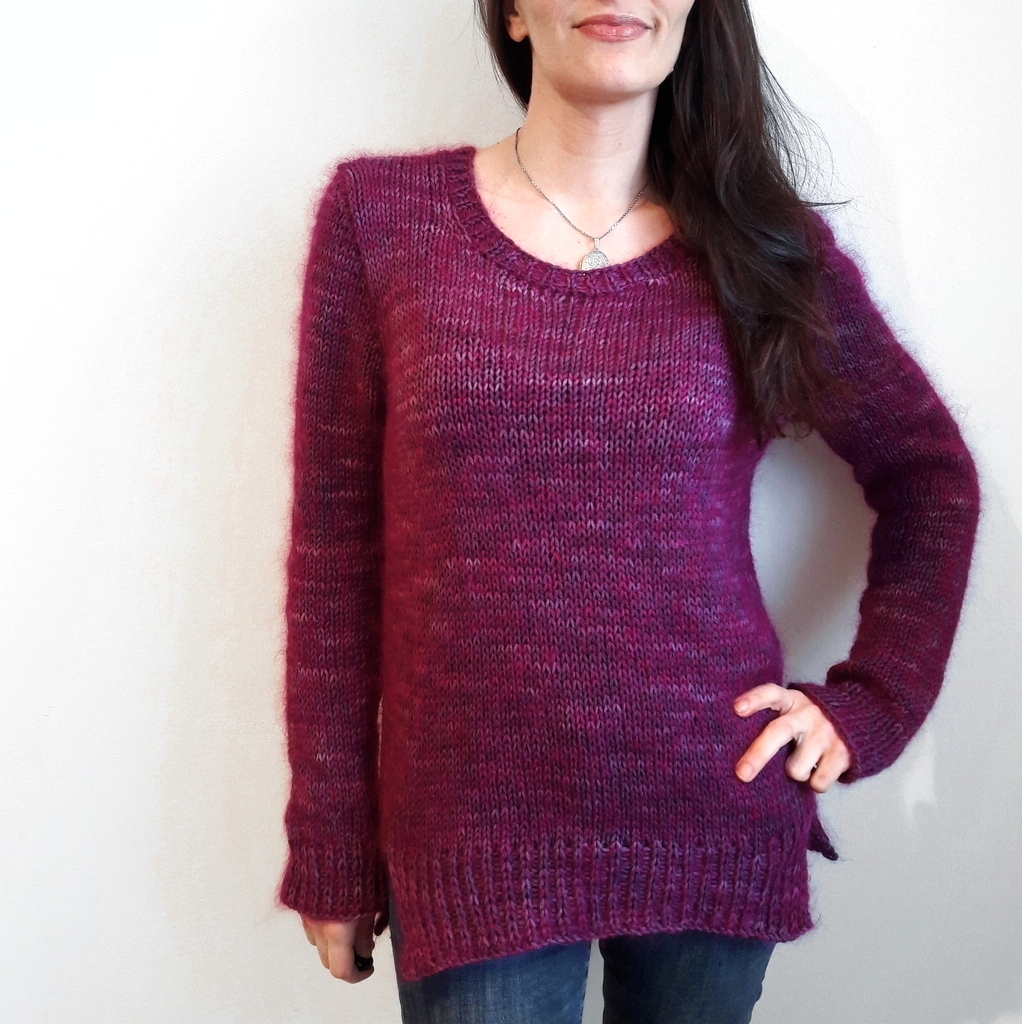
Wie ihr auf den Bildern gut erkennen könnt, hat mein Pulli keine Raglanschräge und auch keine Rundpasse. Er sieht aus, wie ein Pulli, der von unten nach oben gearbeitet wurde, Rückenteil, Vorderteil, linke und rechte Schulter einzeln. Doch diese Konstruktion geht tatsächlich auch von oben. Hierfür beginnt man am Rücken, formt mit Hilfe von verkürzten Reihen zunächst die rechte und dann die linke Schulter, die dann zusammengefügt werden. Dann arbeitet man sich mit verschiedenen Zunahmen voran, bis man die Armausschnitte gearbeitet hat. Schließlich wendet man sich dem Vorteil zu und arbeitet auch hier wieder zunächst die rechte, dann die linke Schulter. Gleichzeitig formt man den Ausschnitt. Und das waren auch schon die „komplizierten“ Schritte dieser Konstruktion. Denn anschließend wird in der Runde gearbeitet, bis man den Körper zu Ende gestrickt hat. Für die Ärmel nimmt man einfach nur Maschen auf und strickt diese dann in der Runde zu Ende.
Das Schöne an der Konstruktion ist, dass der Teil zum Nachdenken ganz am Anfang des Projekts stattfindet. Dann, wenn man noch motiviert ist ;) Und wie ich oben schon geschrieben habe, kann man auch ganz am Anfang das Teil mal anprobieren. Wenn es nicht passt, tut das Aufribbeln auch nicht so weh, da man ja noch nicht so viel daran gearbeitet hat.
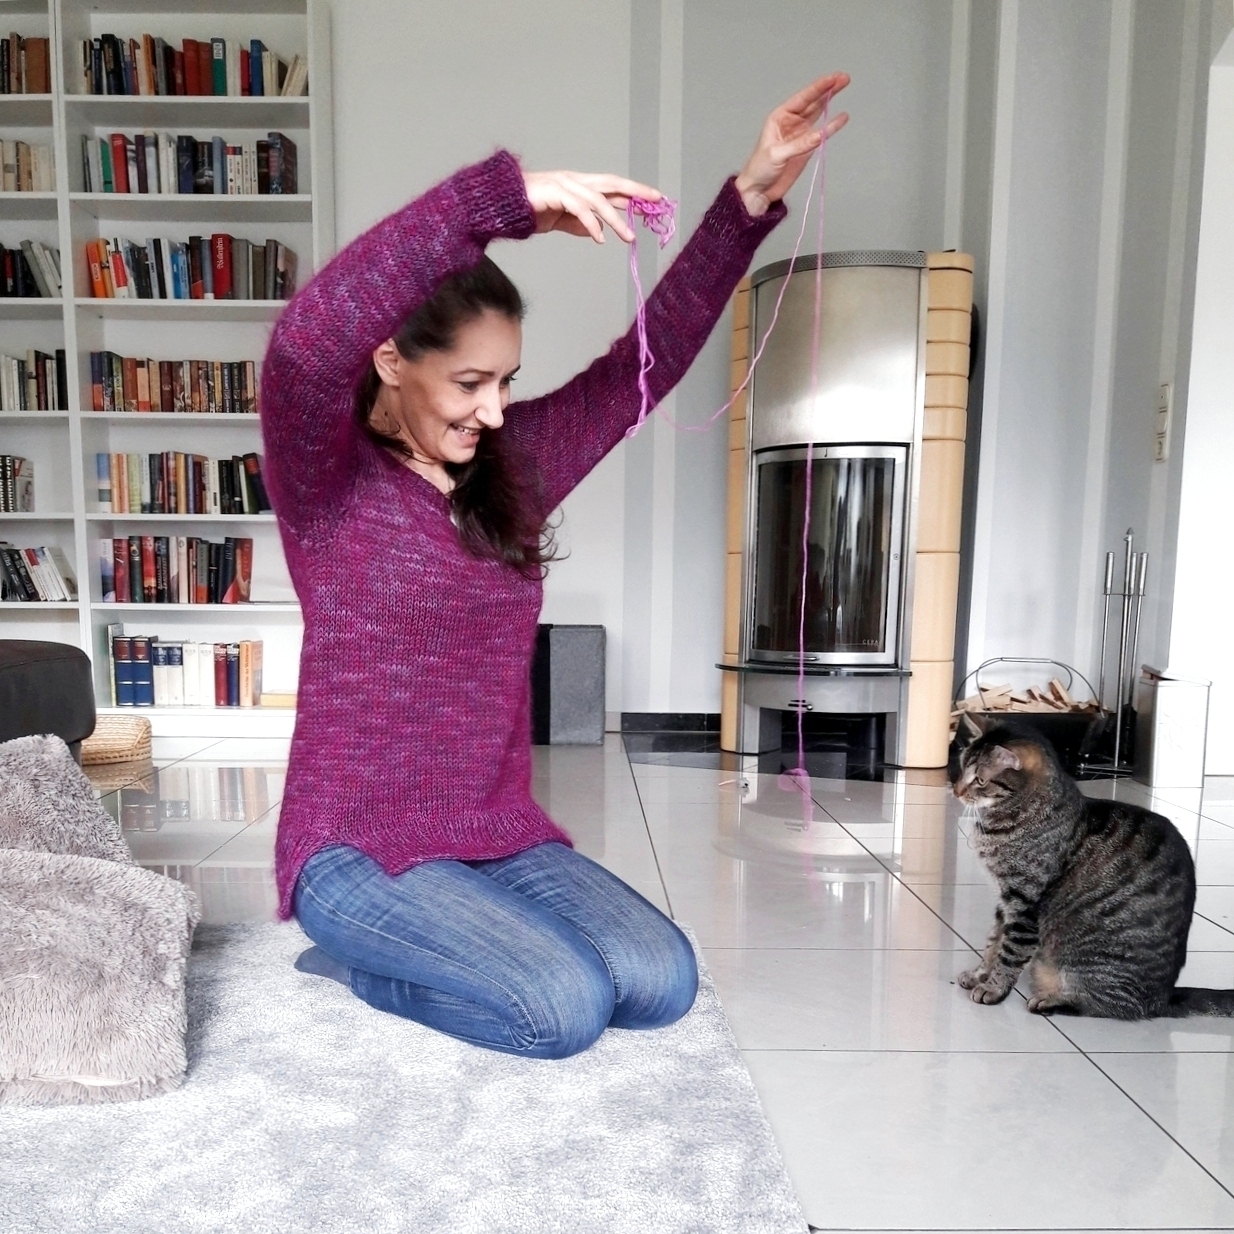
 mein top down SISS
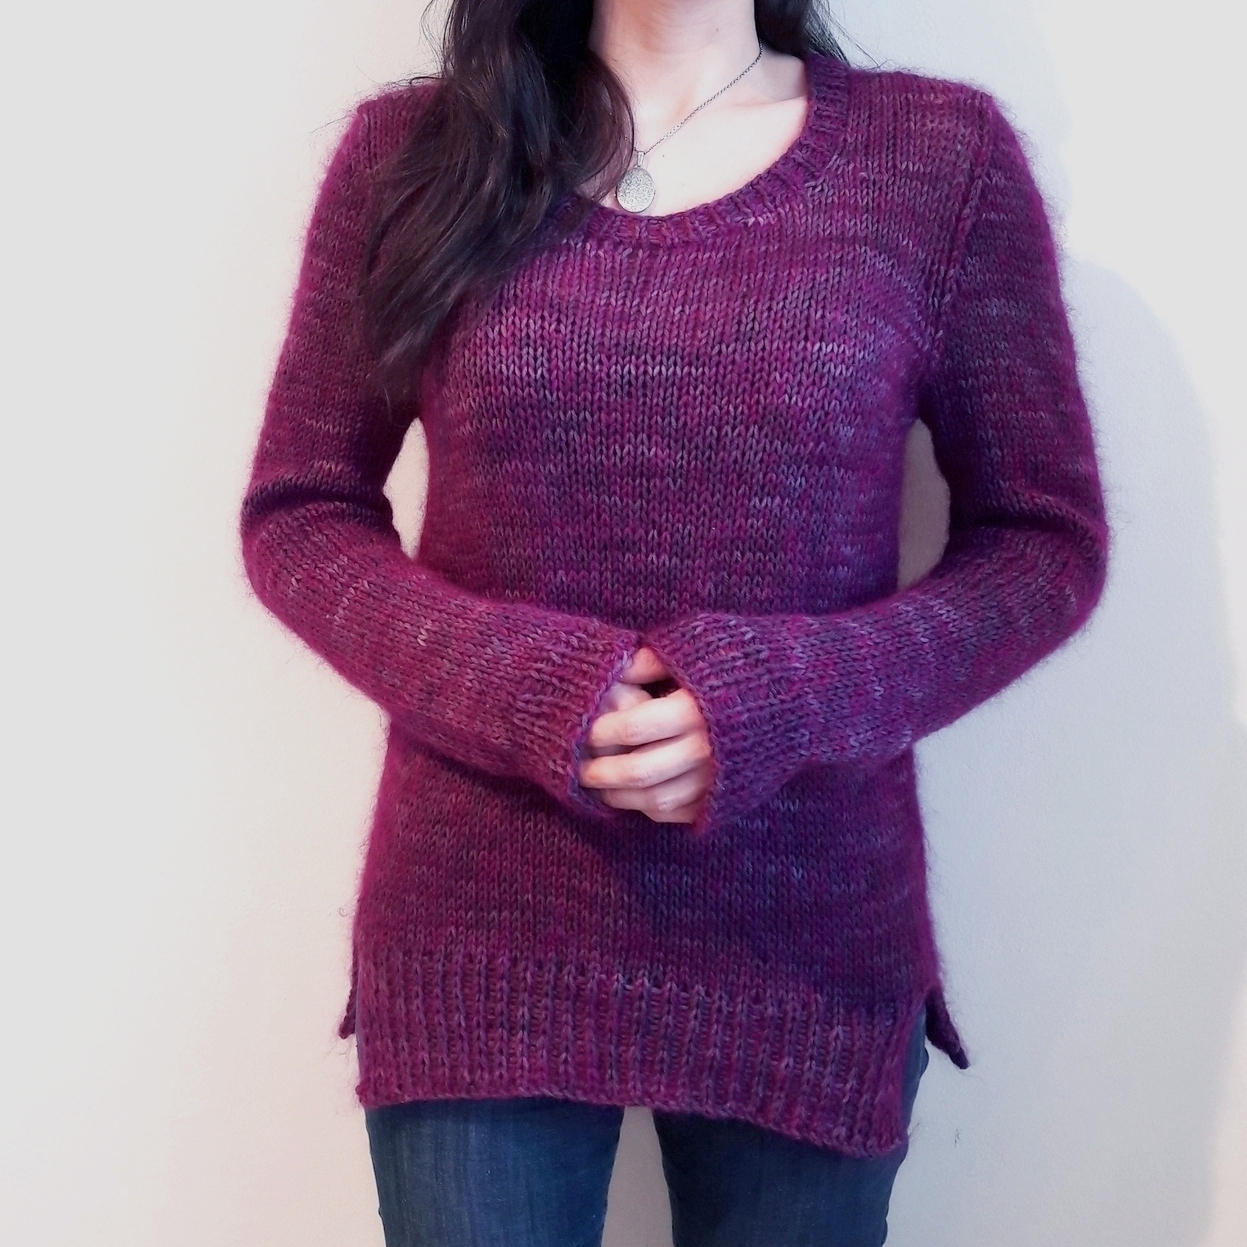
In dem oben genannten Buch gibt es insgesamt sechs verschiedene Anleitungen. Allesamt sehr schöne Modelle, sowohl Cardigans als auch Pullover. Ich wusste allerdings ganz genau welche Wolle ich nehmen wollte: Die Soft DK in der Färbung Midnight Hour zusammen mit der Extraklasse in der Farbe Nummer 4504. Meine Maschenprobe war leider völlig ungeeignet für die Anleitungen aus dem Buch. Aber mit all den Infos konnte ich mir selbst ein kleines Rezept zusammen basteln, das zu meiner Wollwahl passte. Von den Designelementen her habe ich mich an zwei der sechs Anleitungen aus dem Buch orientiert: So habe ich mir das Rippenmuster mit abgehobenen Maschen und die Schlitze am Bündchen des Körpers abgeschaut.
Fazit
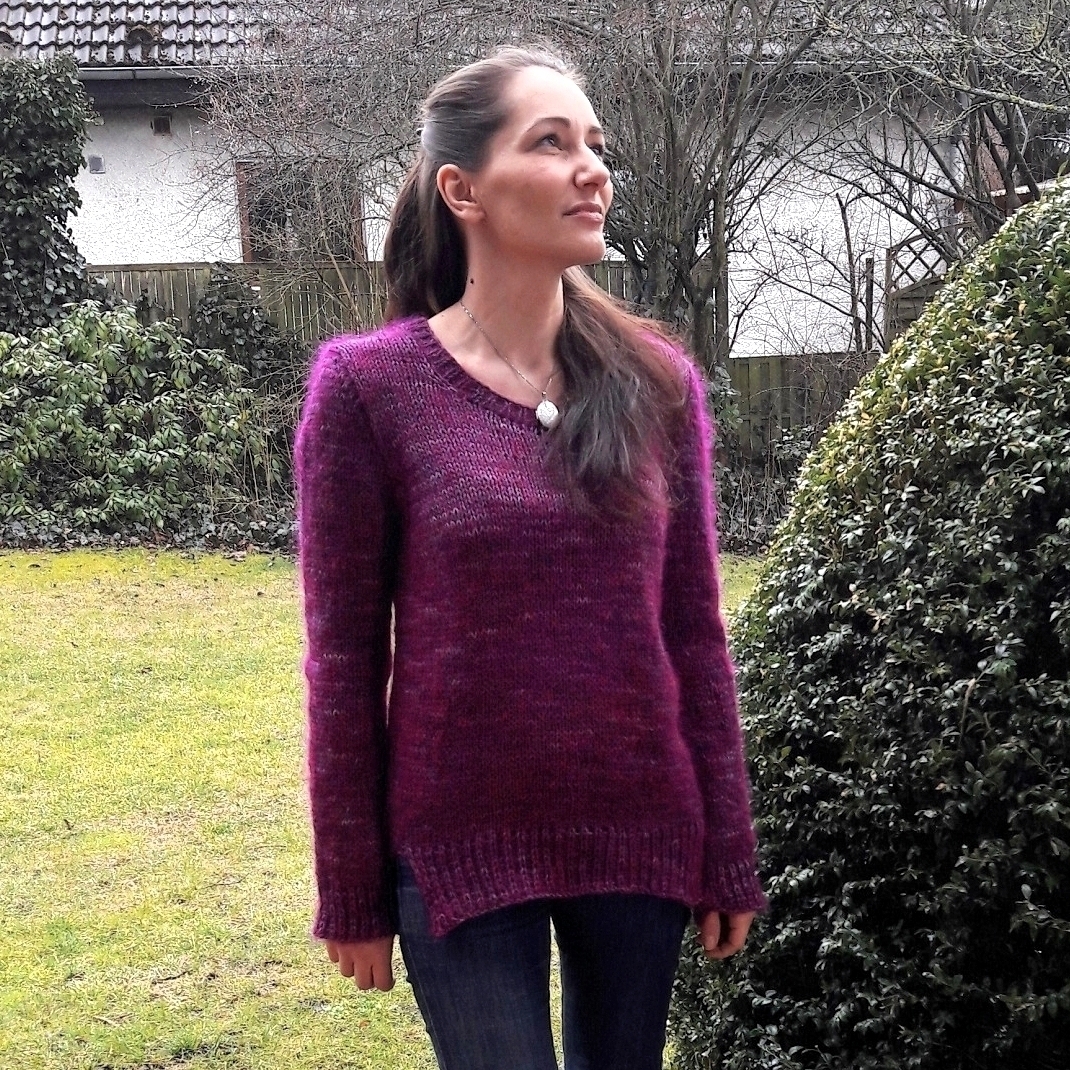
Der Pulli sitzt unglaublich gut! Allerdings muss ich lernen, dass ich meiner Maschenprobe ruhig vertrauen darf. Der Pullover ist ein bisschen oversized geworden. Finde ich aber auch nicht so schlimm, ist ja jetzt modern ;) Mein Rezept werde ich auf jeden Fall verfeinern, denn ich bin mir sicher, dass das nicht mein letzter SISS war. Und vielleicht entsteht bei der weiteren SISS-Reise ja auch eine Strickanleitung für euch - doch noch, möchte ich nichts versprechen.
Ich hoffe, der Blogpost war für euch interessant und aufschlussreich und vielleicht hat es euch ja sogar inspiriert, tiefer in dieses Thema einzutauchen. Wenn ihr Fragen habt, dann immer her damit. Vielleicht kann ich euch ja weiterhelfen.
Alles Liebe und noch einen wunderschönen Mittwoch ♥
Nadine
Preface
Today I talk about my new sweater called SISS and what I learned about the construction. I have honestly started this blog post ten times, because I have a lot to say about this topic. And as sorry as I am, I really have to start from the beginning. I would also like to apologize in advance for my German speaking readers: There will be a lot of English terms (I'll try to explain them), because my lectures were mostly in English. This is not a knitting pattern and even if there is already a lot of interest among you, I do not intend to write a pattern - at least not at the moment ;)
Details on yarn consumption, yarn count and needle size can be found on the Ravelry project page if you want to take a look.
 The not too good old days
If you have been knitting for a few years longer, you probably remember that sweaters were almost exclusively knitted in pieces and then sewn together. Also my first garments were made this way and would probably never have been finished if my grandma hadn't put the pieces together for me.
At that time I had little use for knitting patterns anyway. The ones I had in my fingers were very short with incomprehensible descriptions. And I know that many others felt the same. Today we are spoiled as far as patterns are concerned and I think the USA had a great influence on us. Of course there are still magazines and books that knit in the "old-fashioned way", but at the latest when you visit Ravelry you see that there are knitting patterns that are really really good. Every step is explained to you and if you don't know something after all, just turn on the computer and look for a video tutorial.
Please no sewing together!
I can still remember my first vest, which I had knitted seamlessly from bottom to top. I was very enthusiastic about the concept and started looking for similar knitting patterns. In the process I came across top down constructions. Sweaters that you also knit seamlessly from top to bottom. Even better! Because the big advantage of this method is that you can simply try the knitted piece on before it is finished. From then on I have knitted some top down sweaters and cardigans, but I also like to knit them from bottom to top. There is only one thing important to me: please no sewing together!
Are there any other constructions?
Now that I had knitted some garments, mostly raglan and circular yoke, I wondered if there were any other constructions. Because even if I was complaining so much about the sewing together, the garments all had a really good fit. So some English books moved in with me. And one of them I read over and over again in the last months and studied the instructions: "top down - reimagining set-in sleeve design" by Elizabeth Doherty.
 Details of top down set-in sleeve construction
As you can see on the pictures, my sweater has no raglan line and no round yoke. It looks like a sweater that has been worked from bottom to top, back part, front part, left and right shoulder separately. But this construction actually works from the top. For this, you start at the back, form first the right and then the left shoulder with the help of short rows, which are then joined together. Then you work your way towards the armholes with various increases until you have worked the armholes. Finally you continue working on the front, again first the right shoulder, then the left shoulder. At the same time you form the neckline. And these were already the "complicated" steps of this construction. Because then you work in the round until you have knitted the body to the end. For the sleeves you simply take up stitches and knit them in the round to the end.
The nice thing about the construction is that the part where thinking is required takes place at the very beginning of the project. Then, when you are still motivated ;) And as I wrote above, you can also try it on at the very first stages. If it doesn't fit, it doesn't hurt that much to frog it, because you haven't worked on it that much.
my top down SISS
In the book mentioned above there are six different patterns in total. All of them are very nice models, both cardigans and sweaters. But I knew exactly which yarn wanted to use: The Soft DK in the Midnight Hour colourway together with the Extraklasse in colour number 4504. Unfortunately my gauge was completely off for the patterns in the book. But with all the information I was able to create my own little recipe that matched my yarn choice. The design elements were based on two of the six patterns in the book: I copied the rib pattern with slipped stitches and the slots on the hem of the body.
Conclusion
The sweater fits incredibly well! However, I have to learn that I can trust my gauge. The sweater has become a little oversized. But I don't think it's that bad, it's modern now ;) I will definitely polish my recipe, because I am sure that this was not my last SISS. And maybe on the further SISS journey a knitting pattern will be created for you - but for now, I don't want to promise anything.
I hope this blog post was interesting and informative for you and maybe it even inspired you to dive deeper into this topic. If you have any questions, just send it to me. Maybe I can help you.
All the best and a wonderful Wednesday ♥
Nadine