")
")
Schibot Garne Blog/News 2020: Baby Link
2020: Baby Link

Baby Link
Ein abenteuerliches Strickerlebnis.
Baby Link
An adventurous knitting experience.
Hallo meine Lieben,
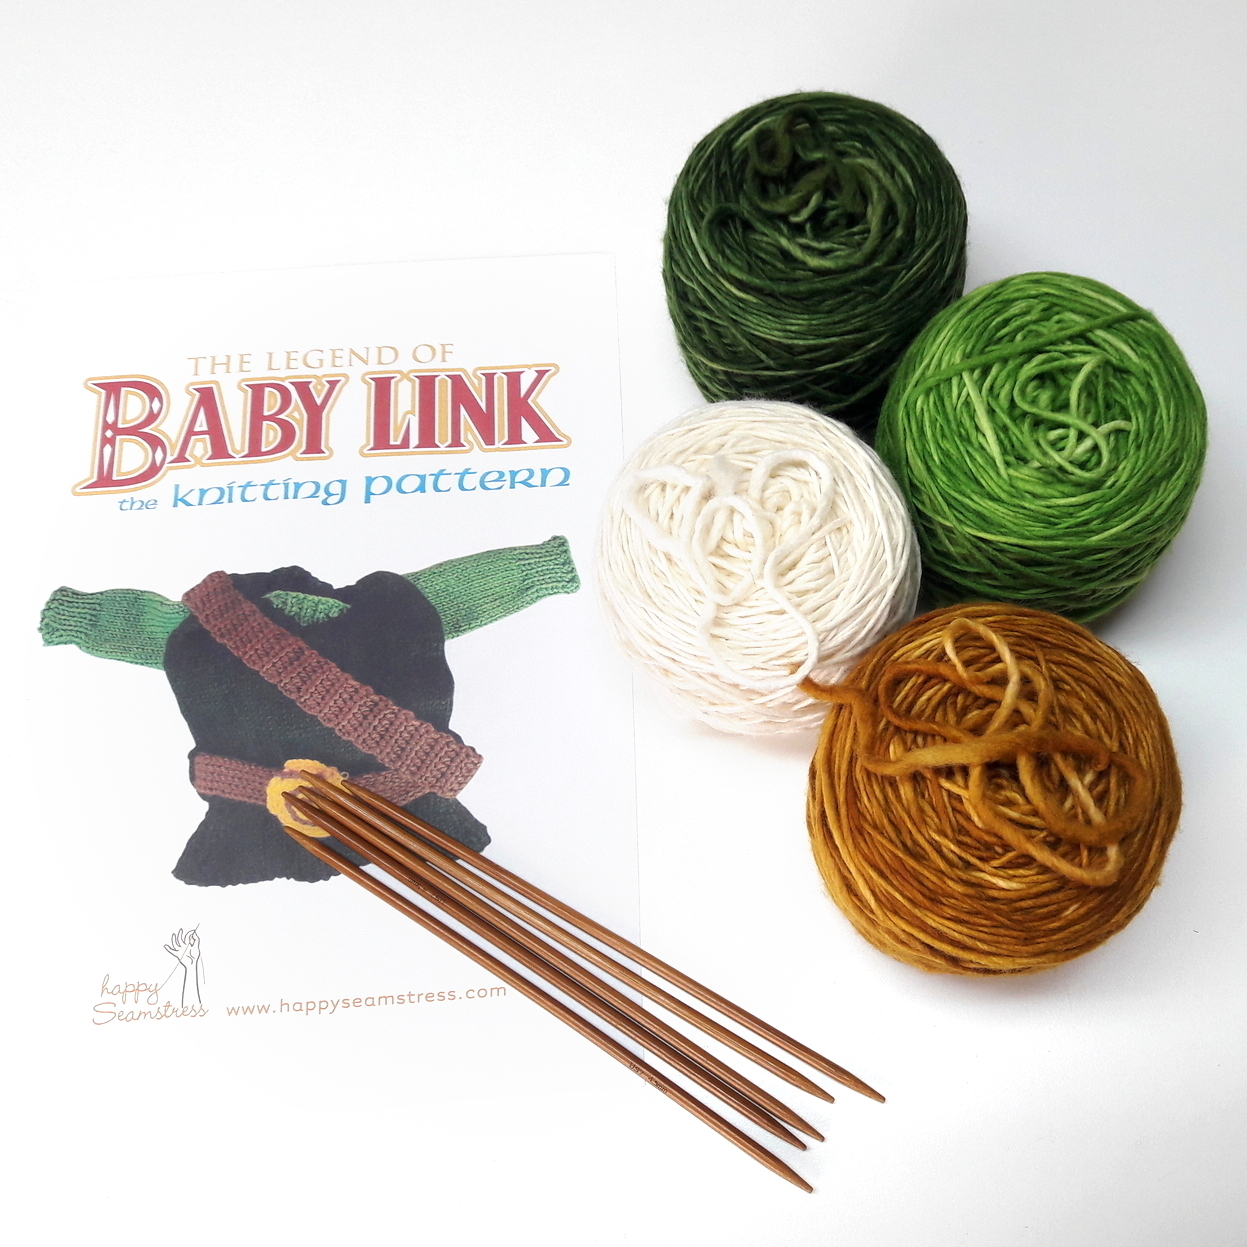 es gibt so viele schöne Babystrickanleitungen und eine davon schlummerte schon lange in meiner Ravelry Library, lange bevor ich überhaupt ans Kinderkriegen dachte: The Legend of Baby Link von Joanna Rankin (kostenloser Download auf Ravelry). Jetzt, mit Kugelbauch und vielen Babystrickideen, war es endlich an der Zeit mich diesem Abenteuer zu widmen. Und abenteuerlich war dieses Strickerlebnis allemal!
Euphorisch ging ich ins Färbestudio und färbte mir vier Farben auf der Merino 100% Aran: Woodman, Garden Party, Naturschönheit und Caramel Camel. Einfach perfekt für dieses Outfit! Während die Wolle am Trocken war, überflog ich die Anleitung das erste Mal. Schon da stand für mich fest, dass ich wohl einige Änderungen vornehmen werde. So manche Dinge erschlossen sich mir einfach nicht.
Hello everybody,
there are so many beautiful baby knitting patterns out there and one of them was slumbering in my Ravelry library long before I even thought about having children: The Legend of Baby Link by Joanna Rankin (free download on Ravelry). Now, with baby belly and lots of baby knitting ideas, it was finally time to dedicate myself to this adventure. And this knitting experience was definitely adventurous!
Euphorically I went to the dye studio and dyed four colours on my Merino 100% Aran base: Woodman, Garden Party, Naturschönheit and Caramel Camel. Just perfect for this outfit! While the yarn was drying, I skimmed the instructions for the first time. Oh man, it became clear to me that I will probably make some modifications. Some things simply didn't make any sense to me.
 Angefangen bei der Tunika. Diese wird von unten nach oben gestrickt. So weit, so gut. Allerdings soll man man die Maschen provisorisch auf einem Restefaden anschlagen, dann den Körper stricken, schließlich wieder die Anschlagsmaschen aufnehmen und das untere Bündchen stricken. Warum so kompliziert? Ich habe die Maschen ganz normal angeschlagen und gleich das Bündchen gestrickt.
Dann ging es an den Ausschnitt. Laut Anleitung teilt sich das Rückenteil in eine linke und rechte Hälfte. Eigentlich nicht schlecht, damit man das Baby später leicht anziehen kann. Aber Knöpfe im Rücken für ein Baby? Eher suboptimal. Also habe ich den Ausschnitt ganz normal gestrickt, in Reihen, geteilt in Vorder- und Rückenteil. Laut Anleitung soll man den hellgrünen Teil in der Mitte in der Intarsia Technik stricken. Bei mir war es einfach nur Fair Isle in Reihen. Der Teil ging leichter als gedacht und mir gefällt der Effekt, dass es so aussieht, als hätte das Baby unten drunter ein hellgrünes Hemdchen an.
Starting with the tunic. The tunic is knitted from bottom to top. So far, so good. However, you should provisionally cast on the stitches on waste yarn, then knit the body, finally pick up the cast on stitches again and knit the lower cuff. Why so complicated? I just started cast on the stitches as usual and knitted the bottom ribbing.
Then it was time for the neckline. According to the instructions the back part divides into a left and right half. Actually not bad, so that you can easily dress the baby later. But buttons at the back for a baby? Rather suboptimal. So I knitted the neckline as usual, in rows, divided into front and back part. According to the pattern you should knit the light green part in the middle using the intarsia technique. For me it was just Fair Isle in rows. The part was easier than I thought and I like the effect that it looks like the baby is wearing a light green shirt underneath.
 Was mir jedoch weniger gefiel: Der Ausschnitt hatte gearbeitet laut Anleitung keine schönen Randmaschen. Also habe ich ringsherum einen I-Cord Rand gestrickt, um einen schönen Abschluss zu erzielen. Gefällt mir so viel besser! Der Ausschnitt ist zwar auf jeden Fall groß genug für einen Babykopf geworden, aber wir wissen ja, dass das Anziehen nicht immer so einfach ist. Damit das mit den Ärmeln leichter klappt, hat mein Link Outfit aus rein praktischen Gründen kurze Ärmel bekommen.
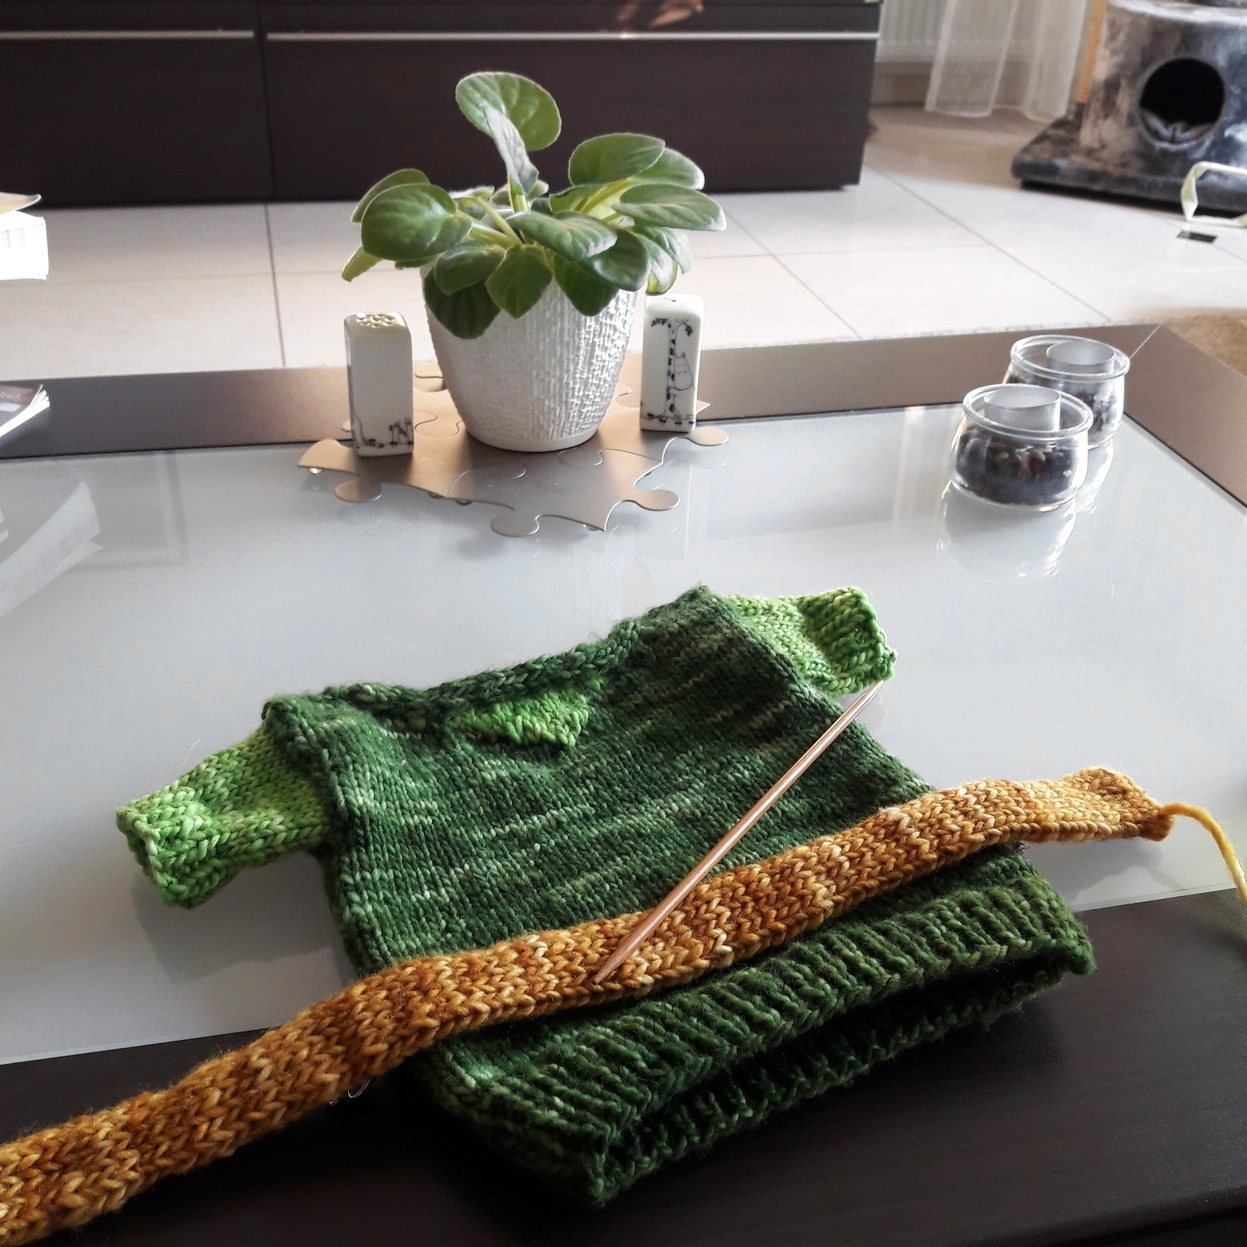
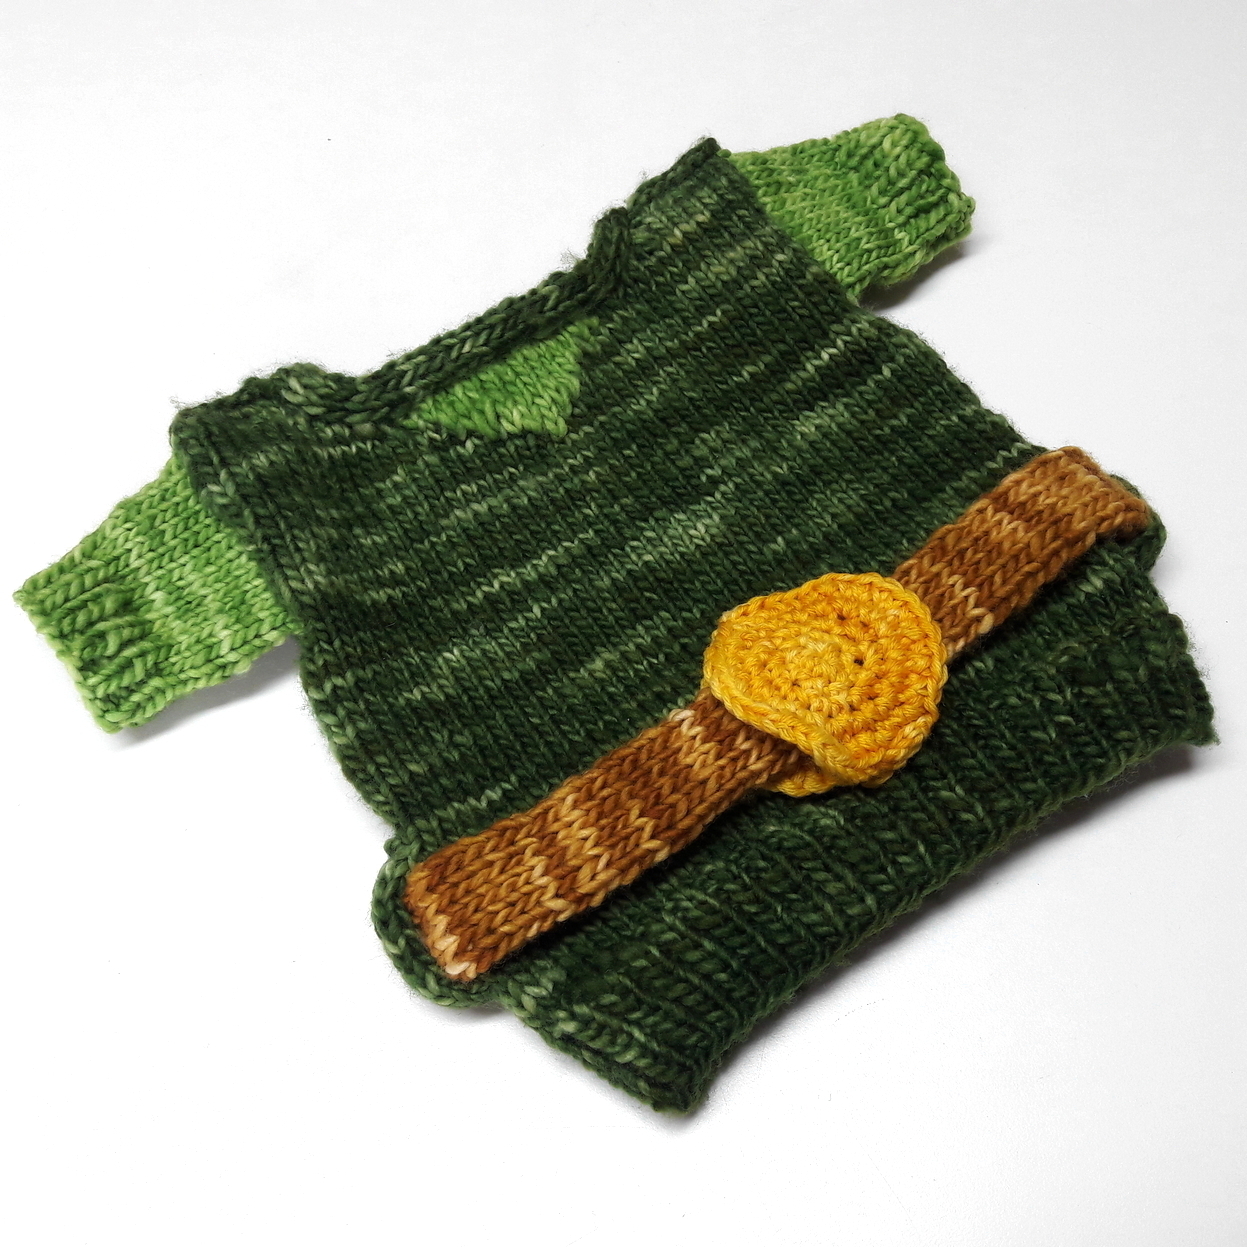
Und dann war der Gürtel dran. Hier war erst einmal Häkeln angesagt. Für die Gürtelschnalle habe ich die Soft Socks in der Farbe Treasure doppelfädig genommen und so gut ich das eben kann Kreise gehäkelt. Auf den Spiraleneffekt habe ich verzichtet, ich fand die Arbeit so schon fummelig genug. Der Gürtel selbst wird mit der Double Knitting Technik gearbeitet. Der Teil hat mir Spaß gemacht und mich daran erinnert, dass ich diese Technik ruhig mal wieder in einem größeren Projekt anwenden kann! Schließlich fixiert man dann noch die Schnalle am Gürtel, strickt seitlich an der Tunika zwei Schlaufen, fädelt den Gürtel ein und vernäht die beiden Enden miteinander. Voilà! Die Tunika ist fertig!
But what I didn't like that much: Worked according to the instructions the neckline didn't have nice edge stitches. So I knitted an I-Cord border all around to achieve a nice finish. I like it so much better! The neckline has definitely become big enough for a baby's head, but we know that getting a little one dressed is not always that easy. To make the sleeves easier to put on, my Link Outfit got short sleeves for purely practical reasons.
And then it was the turn of the belt. Here crocheting was the first thing to do. For the belt buckle I took my Soft Socks base in the colourway Treasure, double-threaded, and crocheted circles as good as I could. I did without the spiral effect, as I found the work fiddly enough. The belt itself is worked with the Double Knitting technique. I enjoyed this part and was reminded that I can use this technique again in a bigger future project! Finally you fix the buckle on the belt, knit two loops on the side of the tunic, thread the belt and sew the two ends together. Voilà! The tunic is finished!
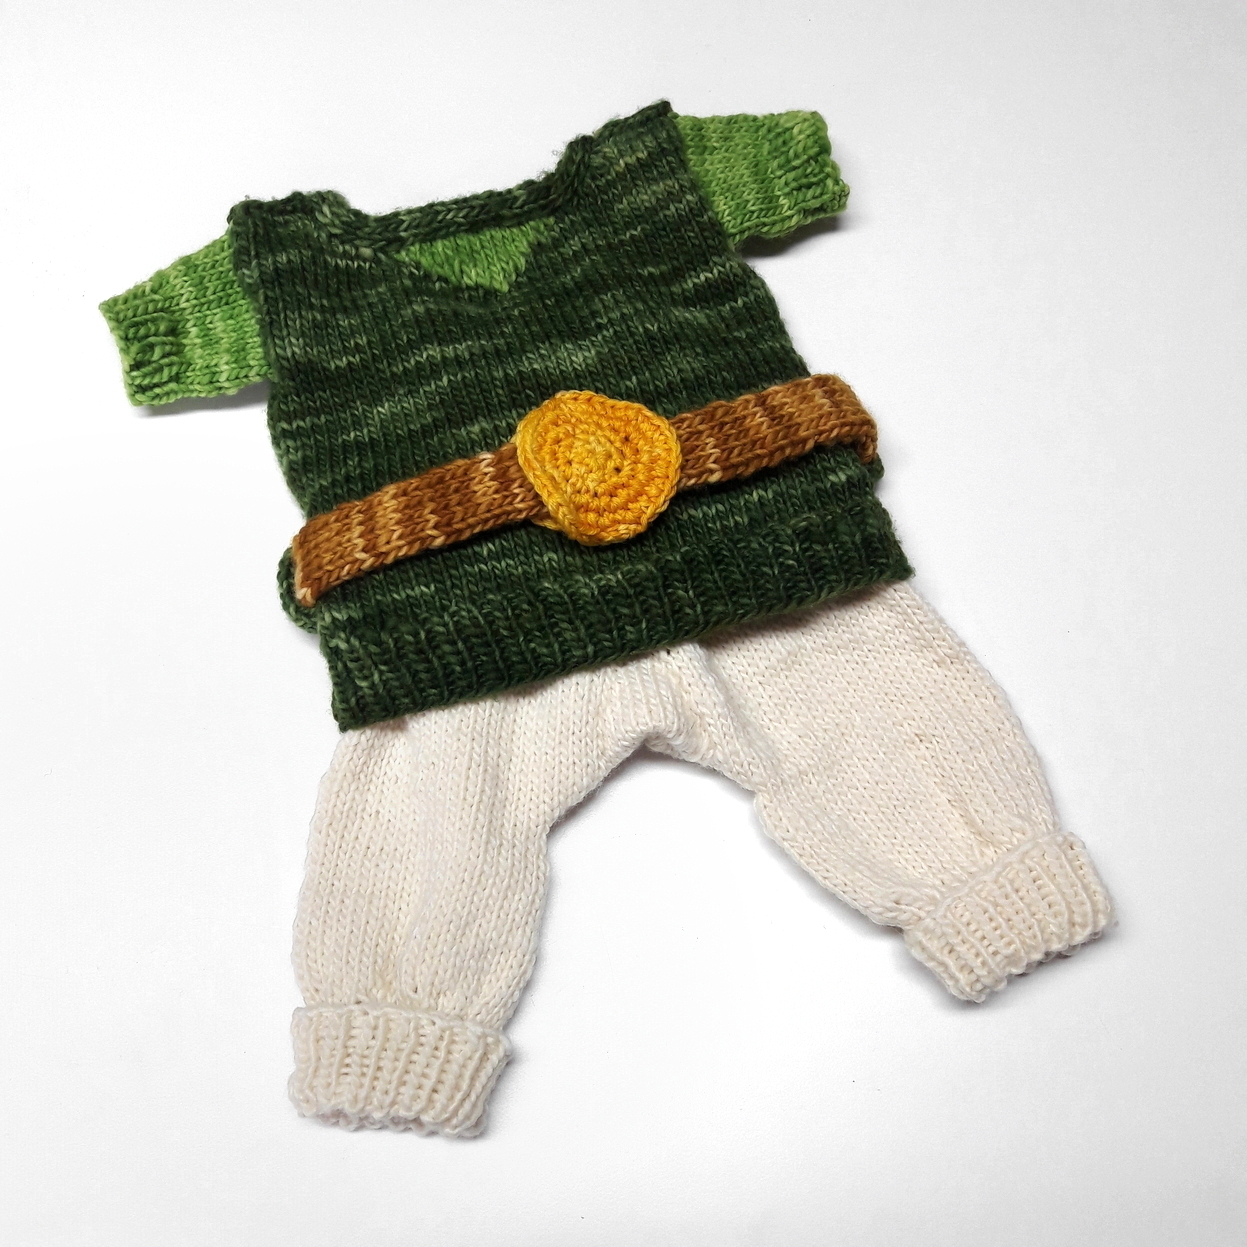 Nun zur Hose. Die hab ich tatsächlich dreimal anschlagen müssen. Ich dachte schon, ich hätte das Stricken verlernt! Versuch 1 nach Anleitung ging schief, weil ich kein passendes Gummiband zu Hause hatte und nicht weitermachen konnte. Also suchte ich mir einfach eine andere Anleitung und entschied mich für den Hosenmatz von Lanade, eine Anleitung, die mir von ganz vielen lieben Strickerinnen empfohlen wurde.
Hier scheiterte ich zunächst, weil ich die Anleitung nicht richtig lesen konnte und schließlich wieder alles auftrennen musste. So schlecht war das gar nicht, denn so konnte ich meine Maschenanzahl nochmal anpassen. Schließlich habe ich nicht die angegebene Garnstärke verwendet. Mit 72 Maschen kam ich dann super hin und das Umrechnen der Anleitung ist tatsächlich kein Problem gewesen. Ende gut, Hose gut.
Now for the pants. I actually had to cast them on three times. I really thought I had forgotten how to knit! Attempt 1 according to the instructions went wrong because I didn't have a suitable elastic band at home and couldn't continue. So I just looked for another pattern and decided to try out Hosenmatz by Lanade, an instruction that was recommended to me by many dear knitters.
Here I failed at first because I couldn't read the instructions properly and finally had to unravel everything again. It wasn't that bad at all, because this way I could adjust the number of stitches again, aware that I used a thicker yarn than recommended in this pattern. With 72 stitches I got a great result and adjusting the numbers of the instructions was no problem at all. End well, pants well.
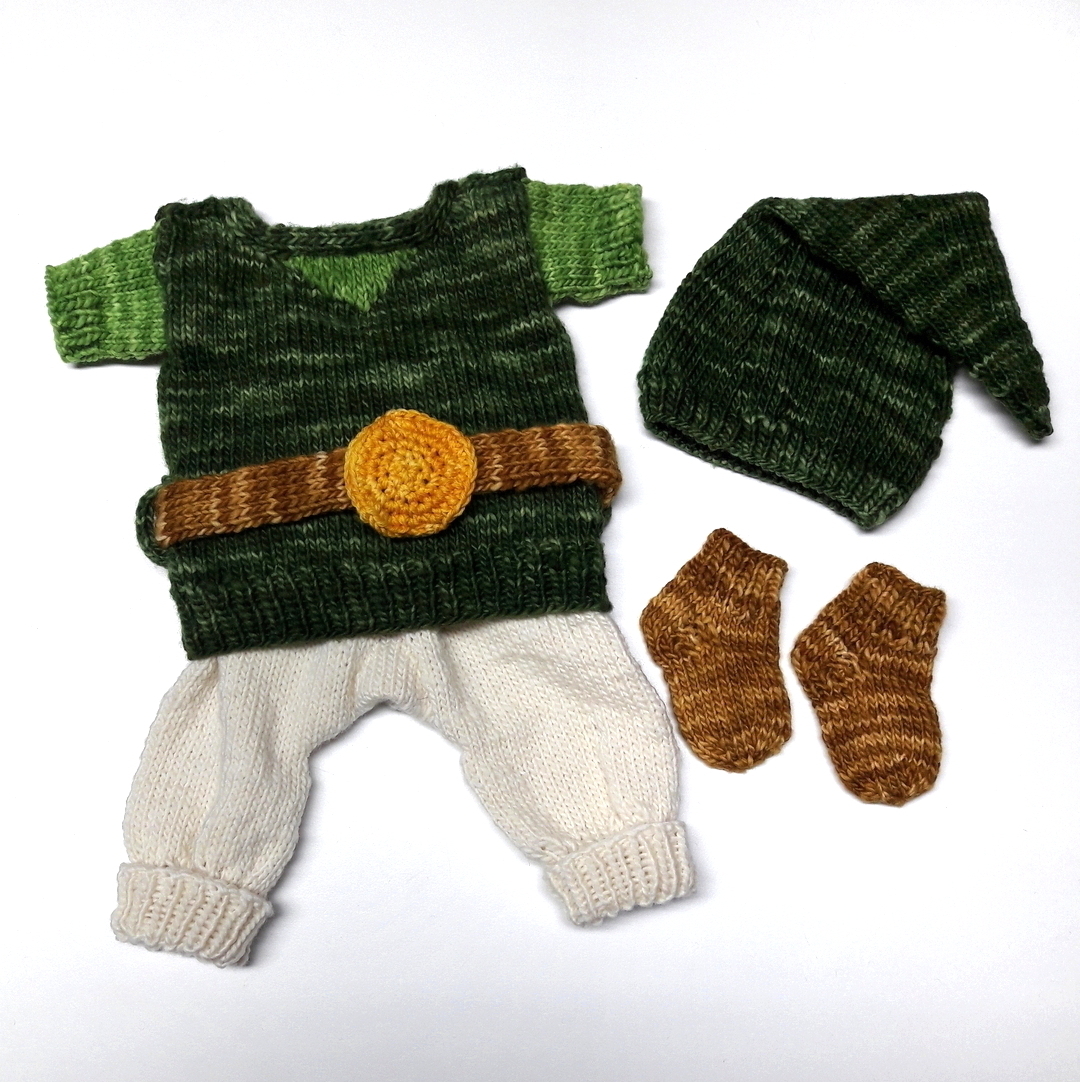 Jetzt fehlten nur noch die Details. Erst machte ich mich an die Schühchen. Wie in der Anleitung angegeben, schlug ich für diese 24 Maschen an (süß, oder nicht?), arbeitete den Rest der Socken aber so, wie ich meine Socken immer stricke. Nur eben in winzig klein. Die Mütze ist tatsächlich das einzige Teil des Outfits, das ich komplett nach Anleitung gearbeitet habe und die gefällt mir außerordentlich gut. Dass der Köcher für die Babyflasche fehlt, weil einfach die Luft raus war, fällt auch gar nicht auf, oder?
Trotz viel Rechnerei, Ribbelei und so manchem Fluch, bin ich unglaublich happy mit dem Ergebnis! Ich finde die Details so süß und freue mich schon so sehr darauf, unsere Kleine in diesem Faschingsoutfit zu sehen!
Alles Liebe und einen schönen Start in die Woche!
Nadine
Now only the details were missing. First I started with the shoes. As indicated in the pattern, I cast on 24 stitches (cute, isn't it?), but worked the rest of the socks the way I always knit my socks. Just tiny little ones.The hat is actually the only part of the outfit that I worked completely according to the pattern and I really like it. You don't even notice that the quiver for the baby bottle is missing, do you?
Despite a lot of calculating, ripping and cursing, I am incredibly happy with the result! I think the details are so cute and I am looking forward to seeing our little one in this carnival outfit!
All the best and a nice start into the week!
Nadine